TRANSLATE

Saturday, August 25, 2012

CAPPUCINO / ESPRESSO/COFFEE/TEA?
Okay, I don't drink coffee, I love the smell of most coffees but just cannot acquire a taste for it. I have no idea what all the gizmos and levers, etc. do on a cappucino or espresso machine and my rendition may not be totally accurate. So why did I make this particular gadget? It all started with the desire to make a copper tea urn in miniature. I did a search for images on Bing (MSN) then one thing led to another and I somehow came accross this image:


http://www.johnm.com/forsale/Cappuccino-left.jpg
When I saw this picture I just had to try and make a miniature of it. I also gleaned some ideas from this YouTube video as well: 
http://www.youtube.com/watch?v=3cNXmP2dRGQ&list=SP131E22212E6EFFC1&index=1&feature=plpp_video
Anway, this is my rendition. My mini may be rather large for this type of machine in 12th scale but I think it turned out pretty good. It is a mixture of plumbing fittings from the hardware store, brass wire and various jewelry findings from the craft store. Paper filligree edging. Copper color Contact Paper from Lowe's was perfect for the lower part.

I plan to put this on a marble top counter in a cafe' still in the planning stages. Maybe it won't be long before I get the cafe' in the works.


Monday, August 20, 2012

Just thinking......

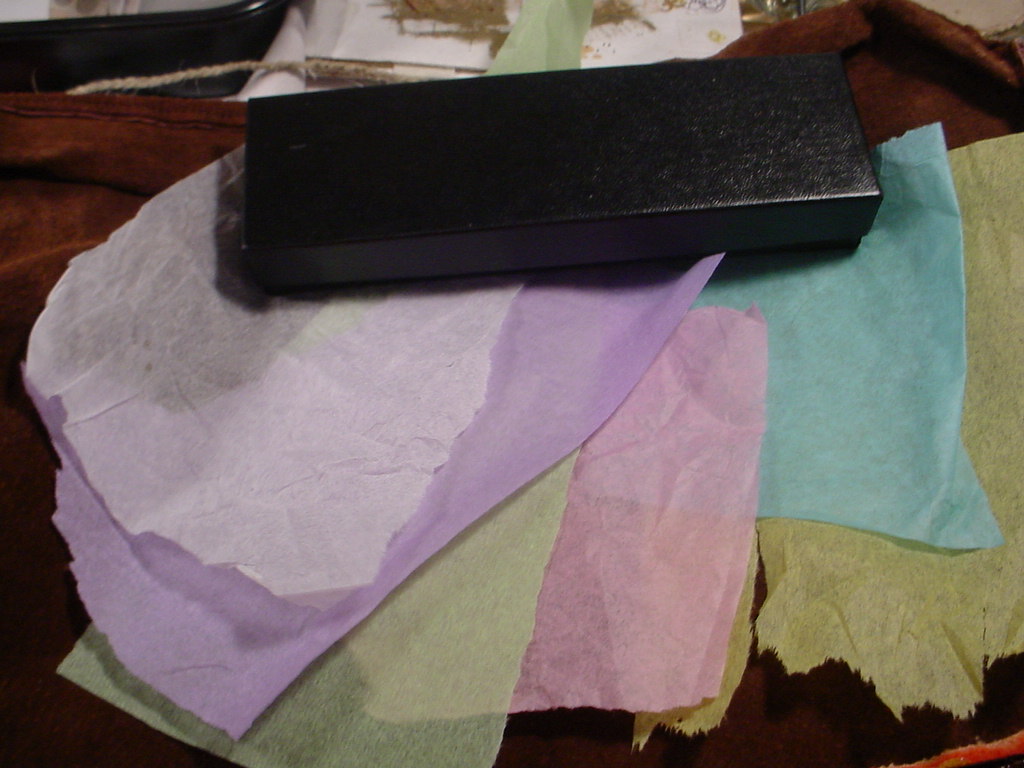
The imaginary decorators have been to check out the lantern rooms and have left samples for the client to look over.


The matboard used for the wall was a scrap piece of matboard gleaned from a frame shop's throwaways. I visit there on occasion to collect these pieces for my various projects.
The fringe pieces in the basket are selvages cut from my fabrics. Remember to look closely at everything you use and you will see it in a different way.

Thursday, August 16, 2012

Someone has been away too long....
The rose bush needs tending and cleaning up!


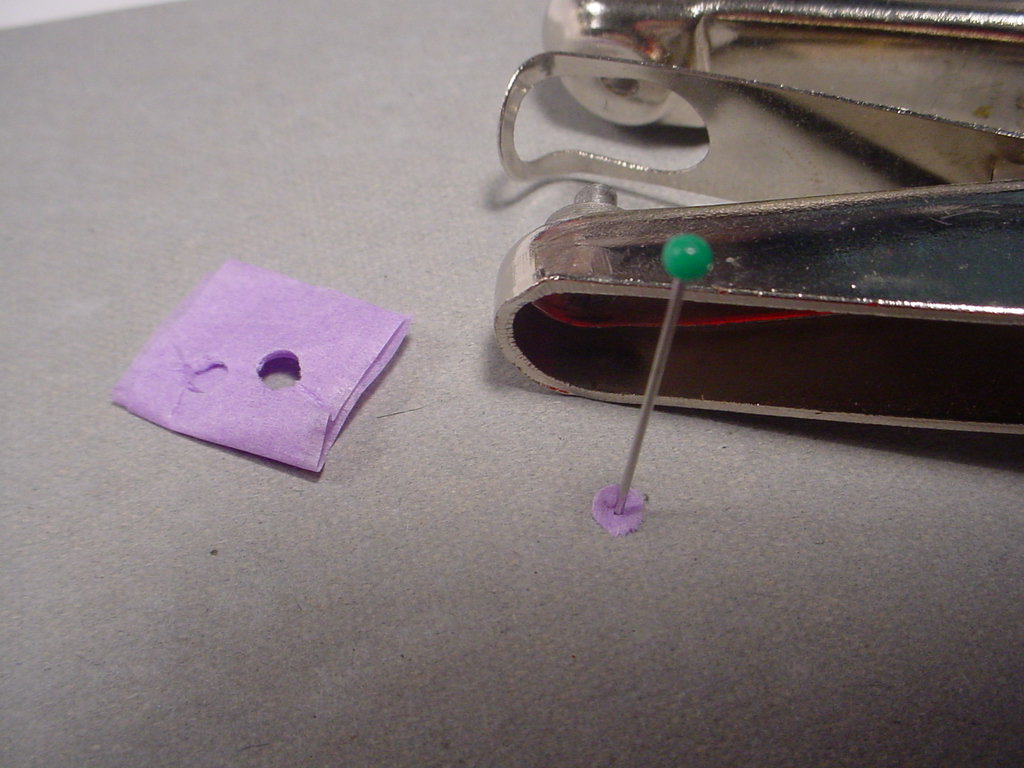
This is the rose bush I made for my florist display. Took a long time to do! I think it was well worth it, though. I made my basic form from a bunch of thin wires and twisted branches in here and there; painted it with a mixture of craft paints and glue mixed together (about a half and half ratio). I used the two punches shown in the second picture. The flowers are made of painted tissue paper and he leaves are painted mulberry paper. (Acrylic craft paints used) Then I used the back of my xacto knife and a mousepad scrap to put a line down the middle of each leaf. Then I built each rose on a corsage pin so that when they were removed I had a hole in the middle big enough to stick on the ends of the branches with glue. Dried tea leaves from my used tea bags make the mulch/soil.

Monday, August 13, 2012

GO TO YOUR NEAREST HOBBY LOBBY THIS WEEK!!!

HELLO TO ALL.....

Been a while since I have been able to post; busy at work and I've been trying to do more on my florist display.
I will post some pictures of my new rose bush when I can and show you the entire display when I get more done on it.
NOW for the main info in this post; Hobby Lobby has their metal ware on sale for 50% off this week.
I purchased two lanterns made of metal and glass for half price. Here are the pictures:

These are only two of the various designs and sizes available in my nearest Hobby Lobby. (40 miles away)
I LOVE the green one! The glass dome on top is two sided convex patterned glass. I plan to put some mini wicker in this one. The other I am not sure of yet...maybe a library corner? These are about 24" tall to the top of the handles.
Looks like I'm going to be even busier in the future with new projects, huh?!
Have a great week everyone!

Saturday, July 7, 2012

COMFY NEW ESPADRILLES
FOR SUMMER

Can anyone tell? I am obsessed with shoes and purses!
I made these this afternoon.....

NEW LIZARD SKIN LOAFERS WITH CHAIN DETAIL
Made these this past week to go into my ladies shop, if I ever get it built!
This is one of those little $1.00 cabinets that I picked up at Michaels a while back.
 I gave it 1 1/4" legs cut from 1/8" dowels and then applied a blue crackled finish.
All the purses, shoes, scarves are made by me except for the tiny little blue beaded bag on the left of the top shelf. This was made by my wonderful friend Judith. The trunk on the top shelf is a Susan harmon kit and the terracota urn was purchased. The little gold box is a jewelry finding.


MINIATURE LOTION BOTTLE TO MAKE

Hope everyone out there is doing good......

Don't forget to "mine" your throw away soap dispensers and spray bottles for different size plastic tubing.
When made into bottles or jars, they look like frosted glass.


Start with the size of your choice and cut a piece 1/2 inch or 5/8 inch long depending on the height you want your bottle to be.
 The bottle I made is 5/8".

Choose a color of tissue paper:

Cut a piece 5/8 inch (or 1/2 inch) wide by 4 inches long.

Roll the strip around a round toothpick (cocktail stick).


Test the fit into the tubing piece and tear off some of the length if you need to so that it will fit inside the tube

I keep a small container with stiff plastic brush bristles clipped from a cleaning brush.
I use these to glue into the center of the bottle instead of a sewing pin or wire. Plastic bristles will not rust from the moisture in the glue.

Dot a little glue into the center of the tissue roll inside the bottle and insert the plastic bristle then thread one crimp tube onto the plastic bristle. Try not to use too much glue like I did. (select a relative size crimp bead to your bottle size)

Punch a circle from a 4-fold piece of your chosen color of tissue paper (again, the size depends on the inner opening of your bottle) and pierce a hole in the center. The tubing for my bottle here has an inner hole size of 1/8".

Thread this onto your plastic bristle and follow with another crimp bead with a dab of glue in between. Slide each down to the bottle trying to fit the first crimp bead into the center of the tissue paper roll. I used a little too much glue before the first crimp tube went on and could not see the center of my roll. My tissue roll was pushed down a little too far into the bottle.

Let all this dry a little and clip the bristle off to 1/16" above the top of the crimp bead.

I used this punch on thin cardstock to get a teardrop shape. You could also use a leafe shape acrylic fingernail rhinestone.

Glue the teardrop onto the tip of the bristle and let dry well.


Dot some dimensional paper glaze/glue onto the top of the teardrop and let dry.
This may work with clear fingernail polish. I have never tried this but please do experiment with what you have.


Use a gold marker to "paint" the shape and let dry well.

Print out the label at the end of this tutorial (the square should measure 1/2" square in your editing program.) Cut label out and edge with gold marker and glue onto bottle.
Now your mini girls have hand and body lotion.