INDUSTRIAL TYPE STOOLS
Hi, all!
Things stay hectic in real life but I finally had time to show these to you.
16 gauge wire works best for these but 18 will work. Any kind will do.
Shape your legs in any fashion you like. I usually make three. You could do four, but, I myself can never get them even.
You will also need:
SUPER Glue (cyanoacrylate)
Woodsies circles. Woodsies brand won't warp as bad as the bargain brand from Hobby Lobby. If you are making it distressed, though, the cheaper ones will work very well.
Stain or paint for the seat pieces.
Screws, nuts and washers for the mechanical part (make sure the screw head is flat)
Paper strips 1/8 inch wide (reinforcement for the tops of the legs around the nut and for the back brace assembly under the seat)
e-beads for the feet (optional) if using 16 gauge wire, 18 gauge needs a larger bead hole
(could also use dots of hot glue on a non-stick surface, doing one leg at a time, let the glue dot cool and harden around the tip of the leg)
Make your legs any shape and length using your chosen size of wire. 1 and 1/2 inch is a good length.
You can really see the warping on a couple of these seats. I used the Hobby Lobby brand of wood circles. Looks pretty good for old and aged look.

This is the package I purchased at Lowe's. The one I bought several months back had washers in it, too.
The picture above and the one below shows how I superglued the legs onto the edge of the nut and then wrap several times with the paper strips to make it stronger. Add more super glue to harden, not a lot, though, as you don't want to get it on the inside of the nut. That will keep your seat screw from turning and make it impossible to get it started in the hole. The nuts are six sided so you just glue a leg on every other flat side. If you can get a package of screws and nuts with the flat washers you can place the washer on the top of the assembly to give it a finished look and hide the tops of the legs. When you are done with assembly and the glue has dried, paint and finish with your desired color and aging process.
Don't place seat screw into the nut until after the glue and paint is dry. You can age it afterwards with acrylic paint if you want and then twist the seat up and down to keep it from drying in the grooves therefore keeping the seat immovable.
Make a circle of wire the same size as your seat..it should fit on the sides of the legs as shown.
I try to make sure I glue it with the ends of the circle over one of the legs.
I also formed a back rest with a piece of the wire and glued it under the edge of the seat. Be sure to paint your wire before assembling. I glued tiny strips of paper over the ends of the wire to reinforce. Then I stained them with wood stain.
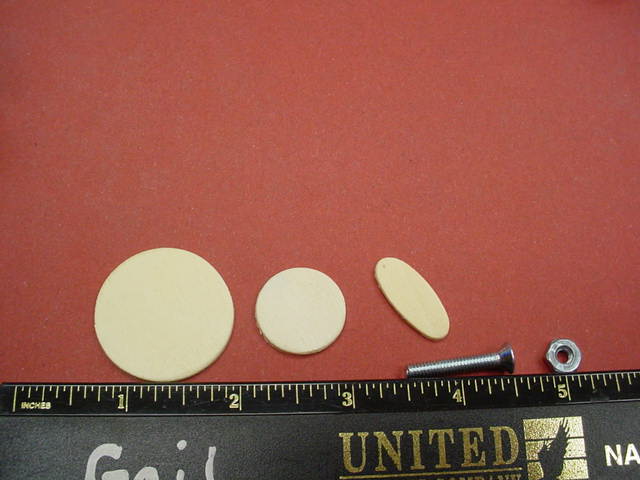
The tiny oval wood piece came from the bag of Woodsies.
(By the way, the large teardrop shapes make good ceiling fan blades)
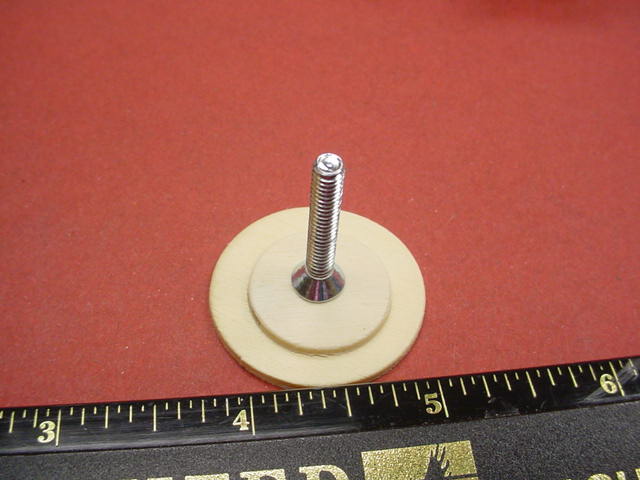
The two pictures below show the size of the wood pieces I used and gluing the screw under the seat.
If there are any questions or something that is not understood, please do comment.
Have a great day!