TRANSLATE

Thursday, December 13, 2012

BIRDS ON A WIRE..........TREE

Finally finished the birds Christmas Tree...
It does not photograph well as the ornaments are so light they keep turning in the slightest breeze.

There are Silver, Gold and Copper color birds.

Merry Christmas, Everyone!


Monday, November 26, 2012

2012 CHRISTMAS TREE


Working on another Christmas Tree with birds as the theme........
I found these beads years ago in FireMountain Gems or Shipwreck Beads (can't remember which) and bought them specifically for bird ornaments. They are called "Party Beads". I have tried to find them again and sad to say they are no where to be found online.
Anyway, they remind me of the vintage glass bird ornaments from long ago.
These can be made from pearls or any other kind of 4mm round and 4mm x 9mm(?) teardrop shape beads.
3mm or 4mm jump rings seat the head on the body using a drop of super glue.
No hole beads make the eyes (fill in the bead holes on either side of the head), 32 guage brass or silver wire makes the curlicue and hanger on the top of the head, a tiny snip of 28 guage wire makes the beak and silver or gold metalic thread makes the tail feathers.
Hopefully I will be able to finish this before Christmas.
Hope everyone had a great Thanksgiving, for those who do celebrate it. I have come to think of every day as a day for giving thanks, though. I know a lot of people all over the world have a really tough time but there are still many blessings we can be grateful for. I thank God everyday that I woke up and if I should not wake tomorrow then I know my soul is secure in Jesus Christ. That is the greatest blessing of all!


Tuesday, November 13, 2012

Early Christmas.....

Made a tiny wire tree with ornaments for a friend and wanted to share a picture.

The Santas are made of 5mm painted (red nail polish) and 3mm plain pearls. The hats are teeny 1/8 punches of white felt and a red seed bead to top off. The belts are black buttonhole twist thread highlighted with yellow acrylic paint for the buckle. Snowmen are 4mm and 3 mm plain pearls with a black sequin and black seed bead to make their hats. They wear red thread scarves.
Details are added with acrylic paint.
All are threaded onto straight silver jewelry pins and the top curled over for a loop.
The tiny trees are snipped-into-shape points of chenille stems stuck into gold painted e-size beads. Had to add jump rings to the tops of these for a hang loop.
There are 18 arms on the wire tree with one in the center (total 19) to hold the 18 ornaments (6 of each) plus the star.
************************************
I am hoping that our issues will be resolved soon. My husband has had to take early retirement on disability due to his Multiple Sclerosis. It is a big adjustment for both of us.
Lots of details to cope with!
Anyway, not a lot going on with my minis but maybe things will settle down before long.

Merry Christmas to all of you out there!

Wednesday, October 24, 2012

THE LITTLE HOUSE

ETSY Shop Announcement

Please note that once my current items and quantities listed have expired and/or have sold I will need to close my shop for a little while. I have some personal issues that need to be resolved before I am able to make more minis for sale.
Thank you to all who have purchased my minis and those who also favorite my shop and items.
I will continue to blog when I can and try to have tutorials and new minis to show you.
 

Wednesday, October 17, 2012

Cascade Bonsai


Finished the Cascade Bonsai I have been working on. It takes a little while to twist the wire framework and then arrange the branches. After painting, you have to arrange the branches again. When dry you can add the foliage in tiny bunches. Made the pot from regular white Sculpey and then painted with an avacado color craft paint. After that was dry, I aged and antiqued it with a transluscent wiping stain.
The stand is just bent florist wire (18 gauge) painted with Krylon hammered look spray paint in a burnished gold color.

This is the framework I started with. I was able to work a hole into the bottom of the trunk and super glue a heavy wire into that for a handle. I stupidly clipped my roots off before thinking. I added several coats of my glue and paint mixture I keep on hand just for adding "bark". It's easy to add small bumps and creases here and there with your built-up coats.

Below are some pictures of another tree I am working on. Not sure if it will be a bonsai or maybe a standard style rose bush for my florist shop landscaping. Anyway, this is the method I use for any bush or tree I am making. Needless to say, it is a MUST that you study your subject in real life or at least a very good picture of it.


Start with 28 gauge (or even smaller) craft wire.

Wind around your hand at least 25 times.

Put a round dowell in one end of the loops...

...then twist a trunk about halfway up.

Cut the loops on the other end.

and spread groups of 5 to 7 wires for each limb out from the top of the trunk section.

Twist each group out to about 1/4 inch then divide the remaining wires of that limb into two or three "forks" or branches and twist those out about 1/8 inch.

If you need to add another limb, cut several, usually 4, pieces or your wire about 3 inches long, fold in the center and loop around the trunk. Twist tight up to the trunk and out to about 1/4 inch and carry on as for the other limbs.


Trim the long ends/tips of the branches leaving about 1/8 inch or a little less for each tip.


Remove the dowell and snip the loops, then spread them out for "roots" to make your tree stand up. Later this is planted, as it were, into your pot or landscaping and covered with glue and soil or mulch. I use dried tea left from my used tea bags. I spread them onto a cookie sheet and put them in my oven with just my oven light turned on, leaving them for a couple of days to dry. The warmth from the bulb is just enough to dry them. Store in a plastic bag or covered bowl.

I use about three tablespoons of white Glue (your choice of brand) and about two tablespoons of brown craft paint. I add a scant quarter teaspoon of avacado and gold to warm the brown a little and just a drop or two of black to tone the color down a bit. May have to experiment with your color to get it just right. Paint it onto your tree framework putting only one coat on your branch tips. Add several layers to the trunk, letting it dry in between. Paint as many coats as needed to cover the wire twists on the trunk and limbs. I keep this in a covered container and add paint and glue as neccessary. (Sounds kind of like a bread starter recipe!)

I use Woodland Scenics foam foliage (model railroad supplies) in a color to match whatever I am making. If you are making a rose bush, punch the petals from paper or use ready made silk leaf garlands for other kinds of trees and bushes. Sometimes you can find these silk leaf garlands in the craft stores. I am sure you could find them online, too.

Hope everyone has a good "rest of the week".

Wednesday, October 10, 2012

NEW CHERRY EMBROIDERED TOWELS

Hello to everyone! Hope all is well with you and yours.
I have finally finished (5) sets each of the new design cherries kitchen towels with an added matching potholder. Thes are now available in my etsy shop.
Work has been very busy and hopefully will slow down some now that we are a little more comfortable with  our new loan processing program.
I plan to work on my florist and finish it up so I can move on to the lantern project I wrote about previously. Then on to the cafe' to display the copper coffee machine, and then.....and so it goes! On and on with many projects planned to keep several people busy for a lifetime!

I do want to thank those who have left such nice comments on my blog.
You're so sweet!

I'll try and have a tutorial and printie up in the next month or so to show my appreciation and maybe another giveaway.

See you soon!

Sunday, September 30, 2012


SEWING BOX
Hi, everyone! Hope things are well with you all....
I am still working hard to get my cherry kitchen towels, etc. finished so I can list them in my Etsy shop. I am waiting for matching ribbon to tie the bundles up with. Hopefully my order from Doll Artist's Workshop (www.minidolls.com) will arrive soon so I can move on to more minis.

This is a sewing box I made recently using an old AVON perfume compact. They packed different scents in these so there is no particular one to search for if you want to hunt for one like it. I purchased mine on ebay several years ago with this project in mind. It has a tapestry type top and measures about 1inch by 1 1/2 inch. I curved some scrolls into 4 pieces of wire for legs and held them together just above the center with a large round of wire. After adjusting the legs and anchoring their feet with a little Blue-Tac (tacky poster putty) I used my super glue gel, then let dry well. I glued small gold beads to each curl.
I will be making up some items to go inside. I saw one of these compacts used in the same way somewhere but on wooden legs. This reminds me of the old antique gilt dollhouse furnishings.
I really like the charm of old and antique dollhouses.
Have a good week!


Sunday, September 2, 2012

NEW LISTINGS ON ETSY:

Hi, All...Hope you had a good week.
http://www.etsy.com/shop/GAILofTHELITTLEHOUSE
I have listed a few more minis in my etsy shop.
I hope to finish up some more of the cherries kitchen towels. I can't believe how quickly they sold the first time! The next batch will have a little different twist and I'm working on a few more items to add.


See ya next time!

Saturday, August 25, 2012

CAPPUCINO / ESPRESSO/COFFEE/TEA?
Okay, I don't drink coffee, I love the smell of most coffees but just cannot acquire a taste for it. I have no idea what all the gizmos and levers, etc. do on a cappucino or espresso machine and my rendition may not be totally accurate. So why did I make this particular gadget? It all started with the desire to make a copper tea urn in miniature. I did a search for images on Bing (MSN) then one thing led to another and I somehow came accross this image:


http://www.johnm.com/forsale/Cappuccino-left.jpg
When I saw this picture I just had to try and make a miniature of it. I also gleaned some ideas from this YouTube video as well: 
http://www.youtube.com/watch?v=3cNXmP2dRGQ&list=SP131E22212E6EFFC1&index=1&feature=plpp_video
Anway, this is my rendition. My mini may be rather large for this type of machine in 12th scale but I think it turned out pretty good. It is a mixture of plumbing fittings from the hardware store, brass wire and various jewelry findings from the craft store. Paper filligree edging. Copper color Contact Paper from Lowe's was perfect for the lower part.

I plan to put this on a marble top counter in a cafe' still in the planning stages. Maybe it won't be long before I get the cafe' in the works.


Monday, August 20, 2012

Just thinking......

The imaginary decorators have been to check out the lantern rooms and have left samples for the client to look over.


The matboard used for the wall was a scrap piece of matboard gleaned from a frame shop's throwaways. I visit there on occasion to collect these pieces for my various projects.
The fringe pieces in the basket are selvages cut from my fabrics. Remember to look closely at everything you use and you will see it in a different way.

Thursday, August 16, 2012

Someone has been away too long....
The rose bush needs tending and cleaning up!


This is the rose bush I made for my florist display. Took a long time to do! I think it was well worth it, though. I made my basic form from a bunch of thin wires and twisted branches in here and there; painted it with a mixture of craft paints and glue mixed together (about a half and half ratio). I used the two punches shown in the second picture. The flowers are made of painted tissue paper and he leaves are painted mulberry paper. (Acrylic craft paints used) Then I used the back of my xacto knife and a mousepad scrap to put a line down the middle of each leaf. Then I built each rose on a corsage pin so that when they were removed I had a hole in the middle big enough to stick on the ends of the branches with glue. Dried tea leaves from my used tea bags make the mulch/soil.

Monday, August 13, 2012

GO TO YOUR NEAREST HOBBY LOBBY THIS WEEK!!!

HELLO TO ALL.....

Been a while since I have been able to post; busy at work and I've been trying to do more on my florist display.
I will post some pictures of my new rose bush when I can and show you the entire display when I get more done on it.
NOW for the main info in this post; Hobby Lobby has their metal ware on sale for 50% off this week.
I purchased two lanterns made of metal and glass for half price. Here are the pictures:

These are only two of the various designs and sizes available in my nearest Hobby Lobby. (40 miles away)
I LOVE the green one! The glass dome on top is two sided convex patterned glass. I plan to put some mini wicker in this one. The other I am not sure of yet...maybe a library corner? These are about 24" tall to the top of the handles.
Looks like I'm going to be even busier in the future with new projects, huh?!
Have a great week everyone!

Saturday, July 7, 2012

COMFY NEW ESPADRILLES
FOR SUMMER

Can anyone tell? I am obsessed with shoes and purses!
I made these this afternoon.....

NEW LIZARD SKIN LOAFERS WITH CHAIN DETAIL
Made these this past week to go into my ladies shop, if I ever get it built!
This is one of those little $1.00 cabinets that I picked up at Michaels a while back.
 I gave it 1 1/4" legs cut from 1/8" dowels and then applied a blue crackled finish.
All the purses, shoes, scarves are made by me except for the tiny little blue beaded bag on the left of the top shelf. This was made by my wonderful friend Judith. The trunk on the top shelf is a Susan harmon kit and the terracota urn was purchased. The little gold box is a jewelry finding.


MINIATURE LOTION BOTTLE TO MAKE

Hope everyone out there is doing good......

Don't forget to "mine" your throw away soap dispensers and spray bottles for different size plastic tubing.
When made into bottles or jars, they look like frosted glass.


Start with the size of your choice and cut a piece 1/2 inch or 5/8 inch long depending on the height you want your bottle to be.
 The bottle I made is 5/8".

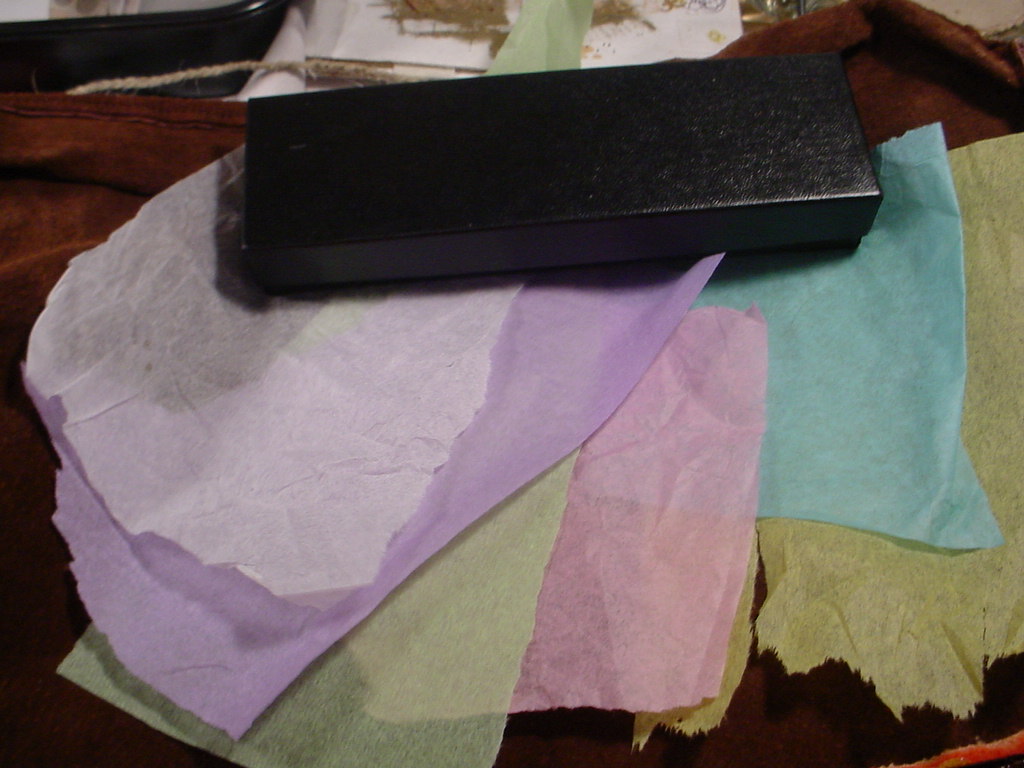
Choose a color of tissue paper:

Cut a piece 5/8 inch (or 1/2 inch) wide by 4 inches long.

Roll the strip around a round toothpick (cocktail stick).


Test the fit into the tubing piece and tear off some of the length if you need to so that it will fit inside the tube

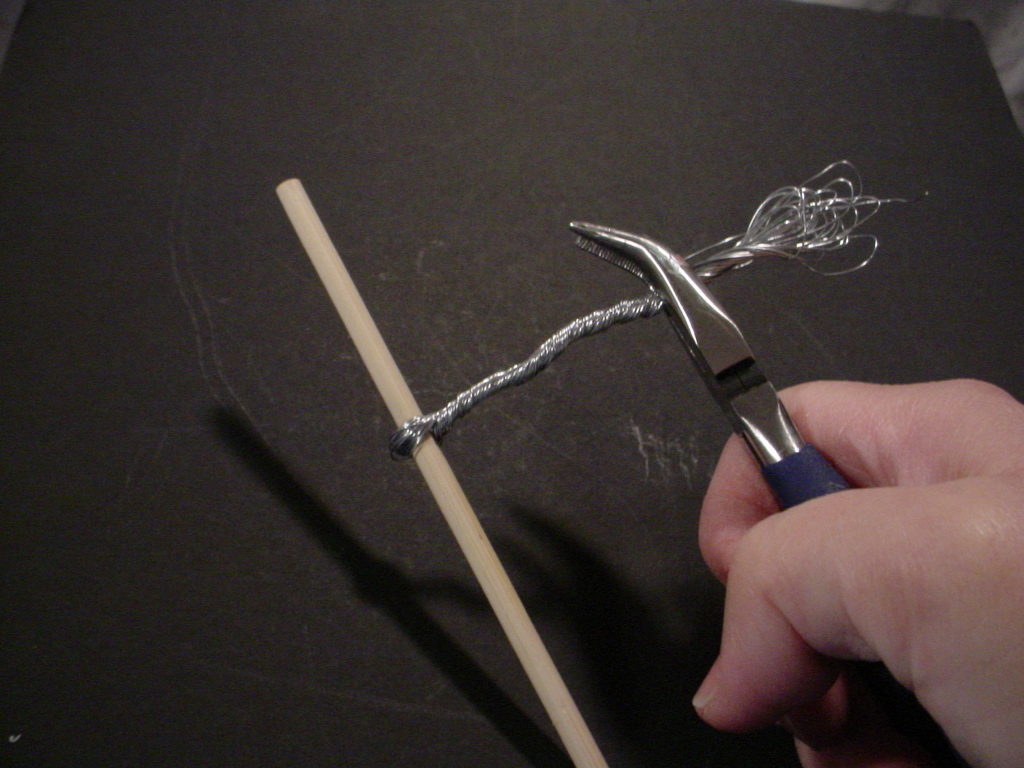
I keep a small container with stiff plastic brush bristles clipped from a cleaning brush.
I use these to glue into the center of the bottle instead of a sewing pin or wire. Plastic bristles will not rust from the moisture in the glue.

Dot a little glue into the center of the tissue roll inside the bottle and insert the plastic bristle then thread one crimp tube onto the plastic bristle. Try not to use too much glue like I did. (select a relative size crimp bead to your bottle size)

Punch a circle from a 4-fold piece of your chosen color of tissue paper (again, the size depends on the inner opening of your bottle) and pierce a hole in the center. The tubing for my bottle here has an inner hole size of 1/8".

Thread this onto your plastic bristle and follow with another crimp bead with a dab of glue in between. Slide each down to the bottle trying to fit the first crimp bead into the center of the tissue paper roll. I used a little too much glue before the first crimp tube went on and could not see the center of my roll. My tissue roll was pushed down a little too far into the bottle.

Let all this dry a little and clip the bristle off to 1/16" above the top of the crimp bead.

I used this punch on thin cardstock to get a teardrop shape. You could also use a leafe shape acrylic fingernail rhinestone.

Glue the teardrop onto the tip of the bristle and let dry well.


Dot some dimensional paper glaze/glue onto the top of the teardrop and let dry.
This may work with clear fingernail polish. I have never tried this but please do experiment with what you have.


Use a gold marker to "paint" the shape and let dry well.

Print out the label at the end of this tutorial (the square should measure 1/2" square in your editing program.) Cut label out and edge with gold marker and glue onto bottle.
Now your mini girls have hand and body lotion.